
If you ever need to add/remove customer points without selling/returning an item, you can use a points SKU to make the adjustment.
1. Create a new Sku named POINTS. Add the details to your new SKU.
![]()
Ensure Manage Stock has been checked off. Set your price to $0.00. Save the SKU when you are finished.
2. Click on the Points field on your SKU info to bring up your Points Rule Editor.
![]()
Add a point value of 1 which will apply to each quantity of the item sold. Click on Add Points Value to apply it.
3. Now you can update your customer’s points. First, access the POS menu and select the customer you would like to adjust points for.
4. Input POINTS as your SKU into the SKU box. Press Enter key.
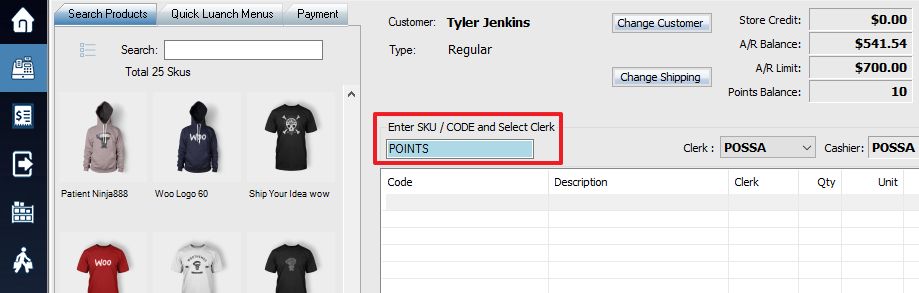
After you enter points as your SKU a “Change Price” window will pop up. If you click change price or cancel it will keep pricing at $0 and it will add the points adjustment SKU into the sale.
5. Once the points adjustment SKU has been added to the sale you can then select [F9] or Change Qty to change the quantity of the item. The quantity will be the number of points that they will receive for the sale.
For example, if the customer has 10 points in balance, you want to zero it out, you can set the quantity to -10.
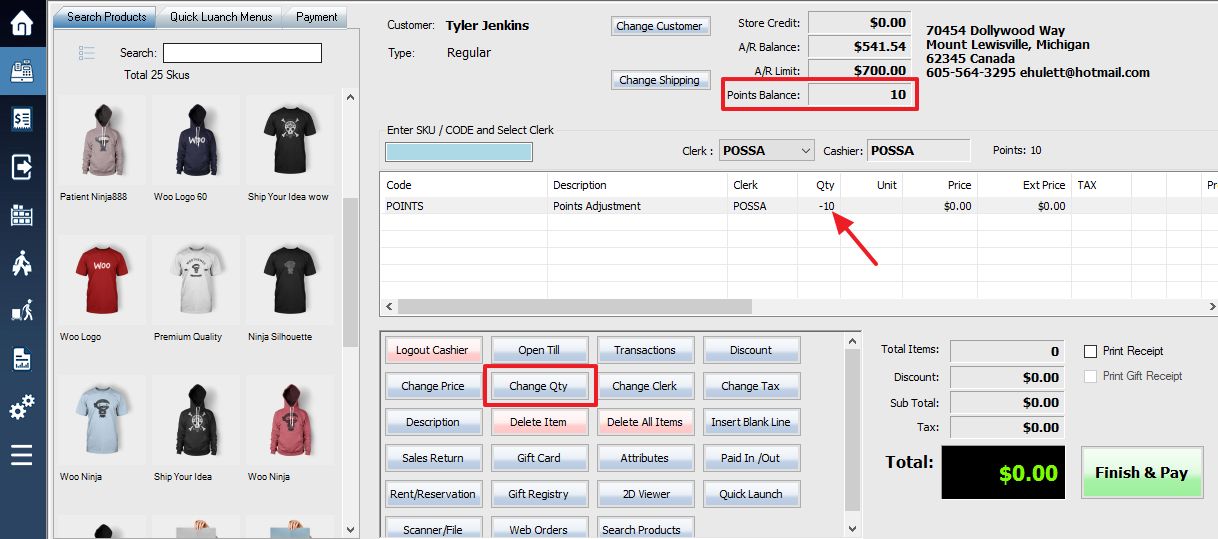
6. When you have entered the number of points you want to adjust for the customer, select the Finish & Pay button and Complete Transaction.
![]()
7. This should have successfully changed the customer’s point balance. You can always view their points balance and these adjustments will show up as a line item on the report. You may need to refresh your customer list to see the changes.
**NOTE: Make sure that only authorized users can have access to this. De-activate the SKU when you don’t need to use it and restrict who can re-activate SKUs.**